To export and resize the image do the following after you have finished any adjustments:
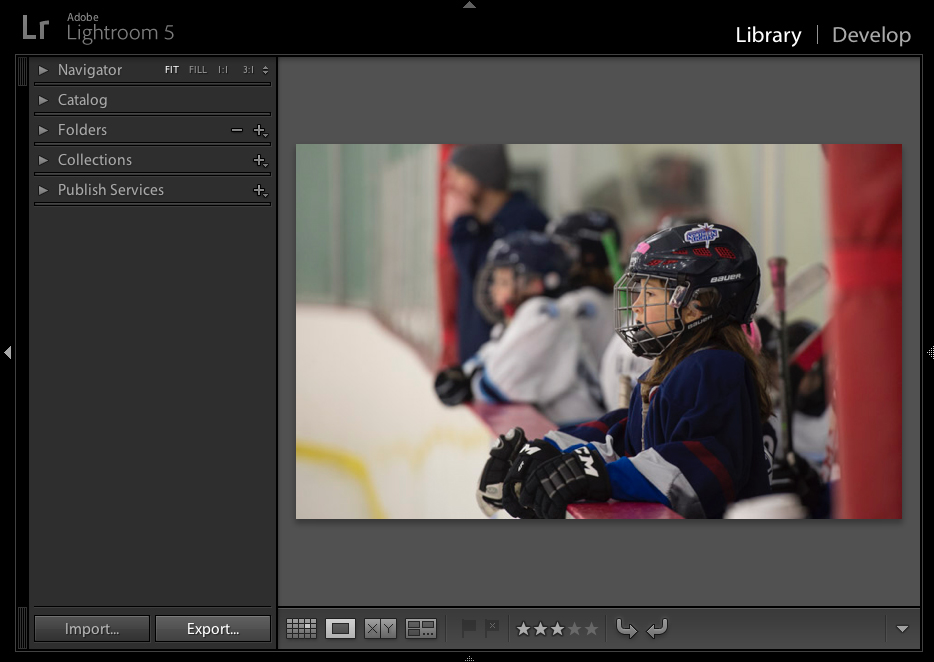
1. Select the image from the Library tab in Lightroom
2. Click Export Button
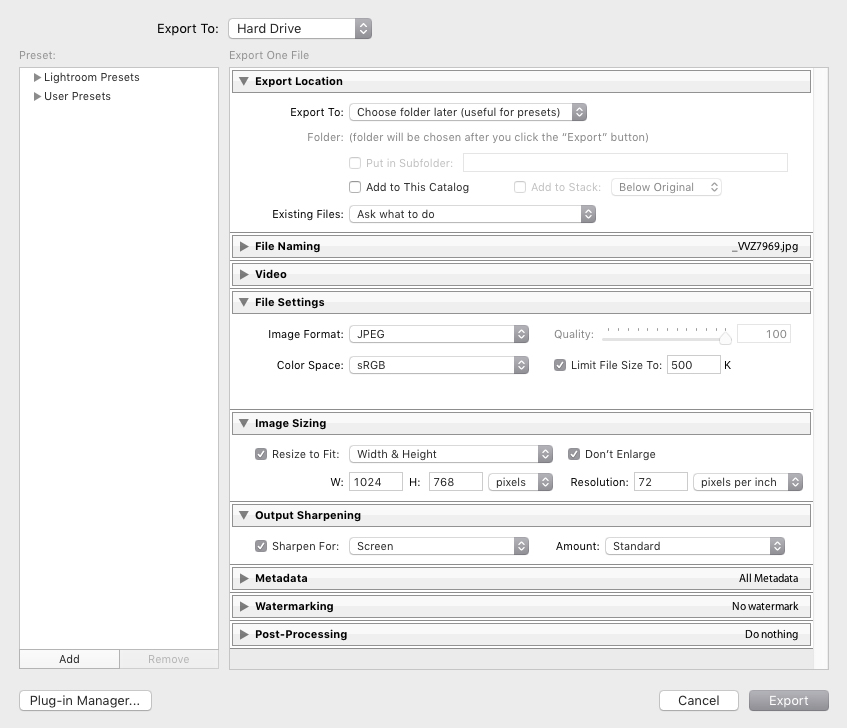
Setup the Export dialog box as shown in the screenshot below.
3. Click export, you will be asked where to save the image on your hard drive
4. Light room will keep the image in the 1400 x 1050 box and automatically adjust ether height or width as necessary
5. You can also click Add button on the lower left to save this as a preset. Next time you can click on the preset and have all the settings filled in.
Explanation of the Export Sections
Export To: Set to Hard Drive. Note that you could email directly from LR by changing this to email, however, this is not recommended as you should save a copy.
Export Location: As set, this option will ask you to select the folder to locate the export, after you click the Export button. This is good for presets since it allows you to select the folder at time of export. Alternatively, you can select a specific folder, or keep it in the same folder as the original by changing these options. You can add to this catalog if you want to track the exported image in LR. This may not be a good option if the output location is temporary. As set, LR will ask you what to do if you already have a file with the same name.
File Naming: Custom name allows you to name the output per the club rules at time of export rather than basing it on your original file name. Just be sure to change this to the club naming rules before hitting the export button. When you click export, you will not get a chance to rename the output file.
File Settings: Here you want to select JPEG and sRGB which are required for display. You have two options for controlling the output, either quality or file size. Most external competitions have a file size limit, either suggested or a hard maximum, usually in the range of 300KB to 1.2MB. 500KB is a reasonable compromise and more than sufficient for 1400 by 1050 projected images.
Image Sizing: This is the key box to be filled in, it needs to be set to W=1400 and H=1050 and units of pixels. Lightroom will keep the image inside this box and reduce either the width or height as needed if your image isn’t exactly in this aspect ratio. Resolution is not critical, this only applies to printing. Leave the Don’t Enlarge box unchecked. Your image will be many times the size of the output file, there is no danger of LR trying to enlarge the image.
Output Sharpening: This option will provide a standard amount of sharpening for projection.
Metadata: Set to all, remove location info. You can change this if you want to strip off some EXIF data or add the geo tagging data in the output. Suggest you set your contact information and copyright in the camera and leave it here.